Showing posts with label kids. Show all posts

Wednesday, September 3, 2014

This Old Backpack

I always put off back to school shopping until the last week.  It's not that I dread school starting, I just enjoy summer with the kids and it's hard to get into the "back to school" mentality until it's only a few days away.  We were so busy tracking down the right glue sticks and markers, I completely forgot that our rising second grader had a raggedy backpack!  

I like making things last as long as possible and I wasn't about to toss a perfectly okay (yet raggedy) backpack that could last another year (or two) if the side pockets hadn't turned into a shredded mess.   Oh, and by the way, I will think twice before purchasing a new backpack with that flimsy mesh junk again!  You're probably thinking I'm crazy for making such a big deal over side pockets, but I really like side pockets... and hydration!

So... the day before (yes, the day before) the first day of school, I ripped off what was left of the mesh and proceeded to crochet a pocket.  Basically, I made a cozy/cylinder using one of their water bottles and left an opening (where it attaches to the backpack)... so it was like a 3/4 cozy.  I started out with a circle for the base (single crochet), then worked the side back and forth in a half-double crochet/diamond stitch pattern.  Next, I found a large needle, some strong embroidery thread, and attached it to the backpack with a ton of stitches.  I left the blue elastic strap at the top to help secure the water bottle.  

I'm curious as to how well it will hold up throughout the year.  So far, in spite of looking a bit eccentric, it's working out well and her water stays cooler during these 95 degree school days.  The other side of the backpack looks basically like the first photo.  I only had time for one side and ... well... that's another day.  

Thursday, April 3, 2014

Lions, Tigers, and a Bear of a Project!

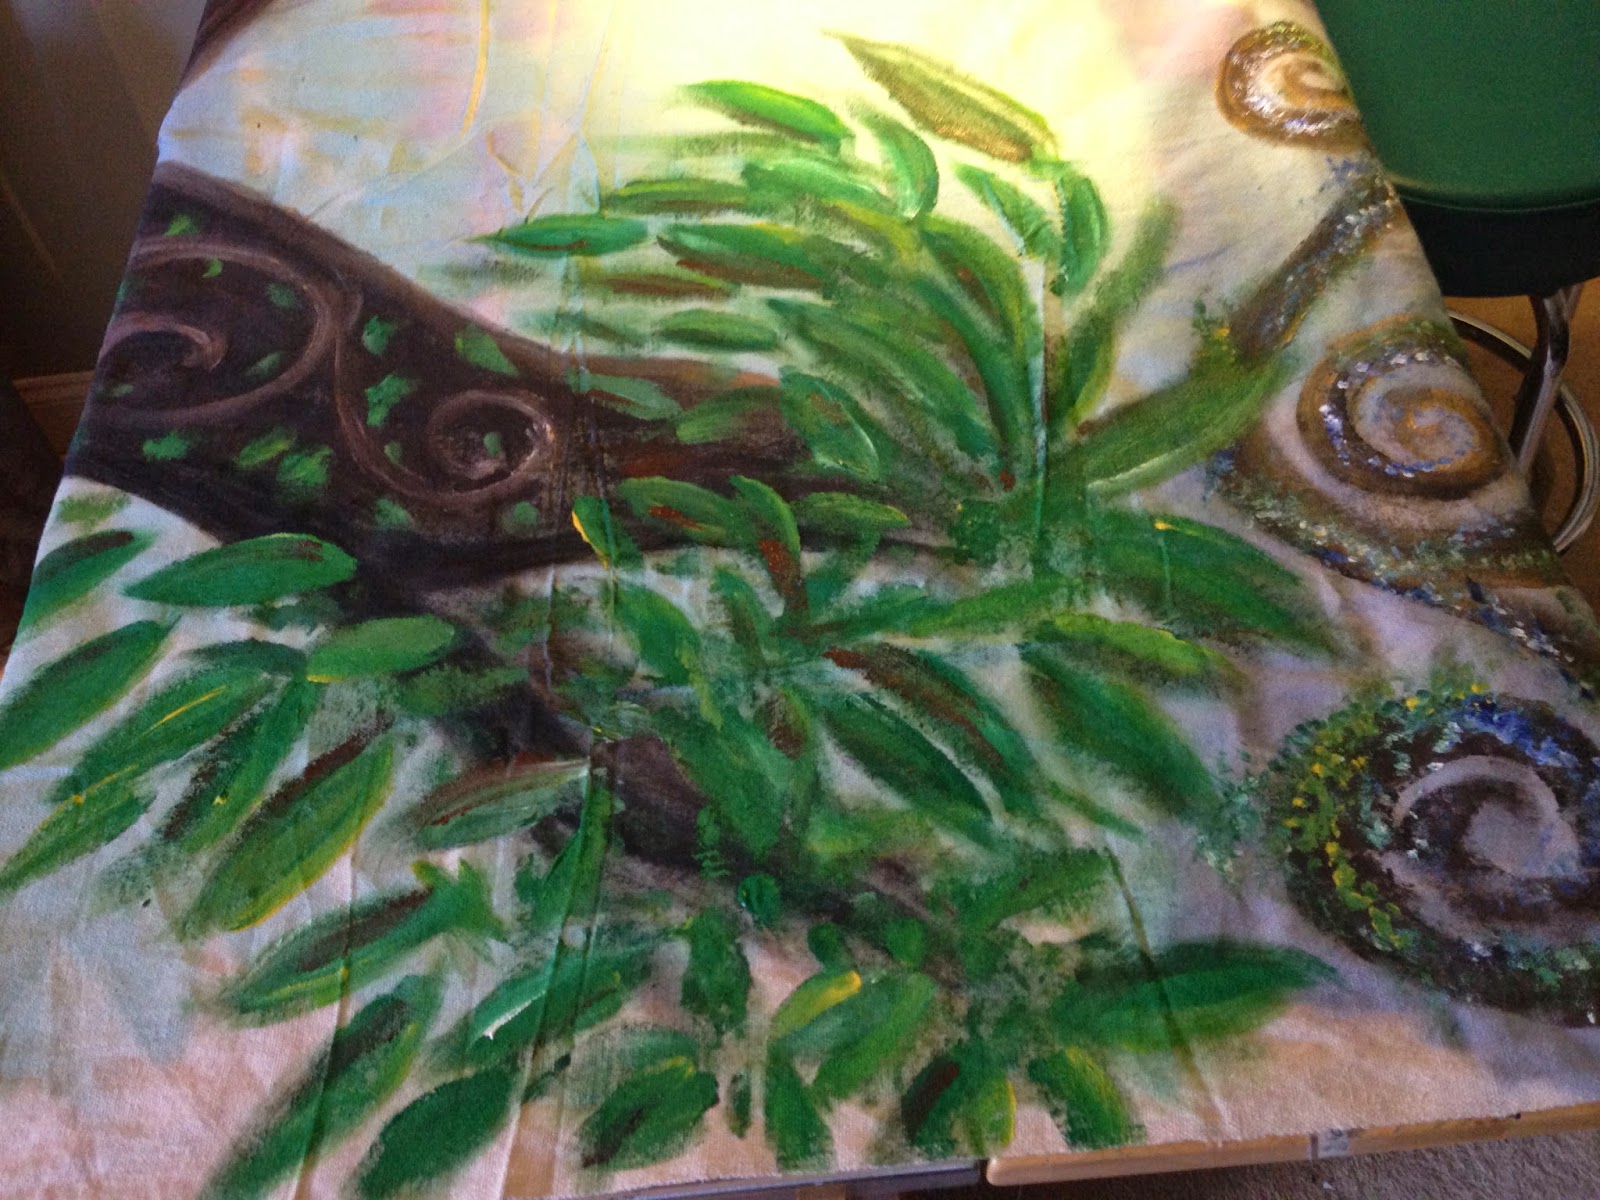
My latest painting was a big one!  9' x 24' to be exact.  I painted a jungle/forest background for my little one's first grade play titled "Welcome to the Jungle."  I know what you are thinking.  At first, I was wondering who would get the role of Axl Rose but as it turned out, they used an entirely different "Welcome to the Jungle."  In spite of being a "bear of a project," I enjoyed every minute of it.  Painting for kids is the greatest honor.

I used approximately 10 cans of spray paint to create the background.  Since the kids were going to be dressed in warm colors such as monkey brown, giraffe gold, and lion bronze, I thought lots of cool blues and purples interspersed with sunrise colors would make the setting "pop."  2 heavy duty drop cloths from Home Depot served as the medium for this sizable project.  I cannot even begin to count the bottles of paint that went into the trees and assorted flora... let's just say I have a lot of bottles to recycle.

The biggest challenges involved space.  Ideally, I would have a huge wall with clamps for this type of project.  Alas, I do not.  I have a small table with clamps.  So, I did the best I could and took the canvas out after each painting session to get a true perspective of it in the driveway.

It took a few weeks to do this and the weather certainly did not help.  We had an unusual amount of snow for central Virginia, so it was often too wet to take the canvas out.  The play was also bumped back a couple of times because of all the snow days.  The music teacher in charge of this production has the patience of a saint, not to mention the energy of a hummingbird!

In the meantime, a handful of crafty, devoted moms were cutting felt, stitching lion manes, gluing feathers, and attaching monkey ears for dozens and dozens of little creatures.  The kids looked amazing and had no trouble getting into character with these adorable costumes.

Given the theme and the ages of the performers, the look I went for was kind of a "whimsical storybook edge-of-the-jungle" look.  The result was lots of very happy first graders who were proud to be "in the jungle!"  I would love to include a photo of the actual children dressed up for the play, but I have this weird thing about using children's images (other than my own) on my blog.  Trust me, it looks better with all the hippos, monkeys, and adorable faces in the foreground!


More images from the process...

painting the background on the first "dry" day


Saturday, April 7, 2012

Natural Dyes for Easter Eggs

These are a bit more time consuming than the food coloring method, but a lot more interesting!  The kids were excited by the whole process and even though the house smelled like cooked onion, cabbage, and vinegar (with a hint of boiled egg), it was well worth the smell and the effort.

We soaked all of the eggs overnight.  I was most impressed with the lovely shade of yellow that resulted from boiled carrot tops, cumin, and celery seed, and equally impressed with the beautiful blue eggs that emerged from the purple cabbage water.

I found most of my dye recipes here, but next year I will try using spinach instead of onions to make green dye.  Red/purple cabbage is perfect, beet juice was pretty but still too pale... next year I will try chopping twice as many beets to make a more concentrated dye.

Happy Easter!