Showing posts with label do it yourself. Show all posts

Wednesday, September 3, 2014

This Old Backpack

I always put off back to school shopping until the last week.  It's not that I dread school starting, I just enjoy summer with the kids and it's hard to get into the "back to school" mentality until it's only a few days away.  We were so busy tracking down the right glue sticks and markers, I completely forgot that our rising second grader had a raggedy backpack!  

I like making things last as long as possible and I wasn't about to toss a perfectly okay (yet raggedy) backpack that could last another year (or two) if the side pockets hadn't turned into a shredded mess.   Oh, and by the way, I will think twice before purchasing a new backpack with that flimsy mesh junk again!  You're probably thinking I'm crazy for making such a big deal over side pockets, but I really like side pockets... and hydration!

So... the day before (yes, the day before) the first day of school, I ripped off what was left of the mesh and proceeded to crochet a pocket.  Basically, I made a cozy/cylinder using one of their water bottles and left an opening (where it attaches to the backpack)... so it was like a 3/4 cozy.  I started out with a circle for the base (single crochet), then worked the side back and forth in a half-double crochet/diamond stitch pattern.  Next, I found a large needle, some strong embroidery thread, and attached it to the backpack with a ton of stitches.  I left the blue elastic strap at the top to help secure the water bottle.  

I'm curious as to how well it will hold up throughout the year.  So far, in spite of looking a bit eccentric, it's working out well and her water stays cooler during these 95 degree school days.  The other side of the backpack looks basically like the first photo.  I only had time for one side and ... well... that's another day.  

Wednesday, September 4, 2013

Strings and Stitches part II

See Strings and Stitches part I.
I still stink at sewing bodices that fit and using a sewing pattern is not my cup of tea.  However, I have discovered that I can CROCHET bodices much better than I can cut and sew!  This has taken my dressmaking skills to a whole new level of the Molly Weasley school of stitching!


I love these basic dresses for summer, especially to wear over top of a swimsuit.  They dry easily on a hot day!  You can even leave them out for winter with a turtleneck and some cute leggings.


I'm horrible at writing patterns, but honestly all you need to do is single stitch crochet and keep a child nearby for measuring.  I use cotton yarn, so I make sure it's a little snug because it will stretch some with wear.  If you need a pattern, I looked up a few for you on Ravelry...
Beautiful Red Dress
Kindergarten Dress
How to Crochet a Child's Dress

Along the bottom of the bodice, I usually do a small shell stitch and along the top and the sides of the straps, popcorn stitches.  Most popcorn patterns call for 5 double crochet stitches, but I make a more petite edging for these by using 4 half double crochet stitches.

I have actually washed these and they held up, but remember cotton yarn is going to fade a little.  If you are going for rich, bold colors, you may want to look for another fiber.

Spending less time worrying about the exact cut and stitching of the bodice allows me to be more creative and experiment with the skirt (see "hobbit dress" below).  I actually used wool yarn for this bodice because I knew it would be worn over top of a blouse in October.   After this photo was taken, I took the straps up a bit because, well... they needed it.

I did not make the bunny (lamb) costume!

Notice the "furry" hobbit feet!


Of course, crochet works beautifully with tulle!  

 For very basic and amateur instructions, see How To Make a Butterfly Fairy Dress.

Friday, November 2, 2012

How to Make a Butterfly Fairy Dress!

Here are some slaphappy instructions for making this dress.  If you have very basic crochet and sewing skills, you can master this.

First of all, you need to be able to crochet a basic fish net stitch.  You will need some worsted weight YARN -- I used Lily Sugar'n Cream. You do not need anything fancy and it will not take a lot of yarn for this stitch.  Use something fairly durable, soft and silky isn't the way to go here.

You will also need TULLE (I prefer spools) in colors of your choice.  The amount you need depends upon how full you want the skirt.  I used about 3 spools here (7 on the blue dress below).

Other things you need...
-- a crochet needle (I used size I or 5.50 mm)
-- an embroidery needle
-- sturdy thread to match your bodice
-- a cotton, stretchy camisole to match the bodice
-- sharp scissors, fabric scissors if you have them
-- ribbon for decoration

Use the child or a dress form to determine the size you need for your foundation row (it needs to be snug).  I prefer joining the bodice in the end since I'm going to be adding tulle and stitching it to a camisole.

Fish net back and forth until the bodice is the right length to fit the child.  PLEASE NOTE:  This stitch will stretch a lot once the tulle is added.  If you are adding a lot of tulle it could double in length, so be careful not to make the bodice too long.  For this particular dress the bodice has 14 rows, but it all depends on the yarn and the size you need.

Be sure to secure the stitch when you finish.  I always add another string of yarn into the last stitch to tie everything together, just to be safe.  Simply weaving in the ends is not going to be enough for such an airy stitch.

Your bodice should be a big rectangle.  You may have noticed by now that I do not normally write patterns or instructions (and that is probably for the best).

Now for the fun part... adding the tulle!  You can be as sloppy or as precise as you like here.  I like to use the spools of tulle, it's a lot easier for measuring and cutting.  Just roll out the spool, cut with some sharp fabric scissors,  and remember, you are going to need each strand to be TWICE the desired length.

If you are planning for the skirt to actually function as a skirt (no leggings needed), you will need a lot of tulle.  I still recommend using a little slip or tights underneath.  For the butterfly dress, we were planning to use leggings so I added just enough tulle to make it full and fancy.

As for colors, be creative!  My daughter wanted to be a monarch butterfly, so I used (in descending order of quantity) orange, black, yellow, and fuchsia.

After you have your strips of tulle ready, you can simply pull the strands through the openings in the bottom of the bodice.  When a strip is halfway through the opening, tie it into a double knot to secure it.  You can make the skirt as full as you like, but remember, the more tulle you add, the more your bodice is going to stretch.  For this dress I used two strips of tulle in each opening along the bottom, and at least one strip in each opening in the next row above.  For the blue/purple dress to the left, I used almost twice as much tulle, and the the yarn in the bodice was almost too soft and stretchy for that.  Again, just use a fairly stiff yarn if you want to use a lot of tulle.  Even that scratchy Red Heart Super Saver stuff works well for this.

Now you have a fish net rectangle with a lot of tulle hanging from it!  Let's make it functional by finding a matching camisole.  I like the cotton camisoles at Target, especially the ones with the soft lacy trim.  Any cotton, stretchy camisole will do as long as the color is right and matches your bodice.  I was lucky enough to find blue ones at Target this summer to match the blue flower girl dress.  Finding a black camisole was easy.  Make sure the camisole has a snug fit!

Go find a needle and some matching thread.  I suppose you could use a sewing machine for this but I felt more comfortable doing this by hand.  Position the bodice over the camisole so the ends meet directly at the back center (or as close as possible).  Sew the bodice to the camisole along the top.  Use lots of stitches and secure them well.  I am neither a a sewing expert nor a sewing instructor so I wish you the best of luck here!  Just make sure you use plenty of stitches, sturdy thread, and if the thread is a good match, all those crooked stitches wrapped around the yarn will not be noticeable.  When you are finished, the bodice should be securely attached to the camisole and the opening should be at (or near) the back center of the camisole.

Now it is time to stitch the camisole together with your matching yarn.  I like to use slip stitches then go back and tie with several pieces of yarn.  If you feel like the closing looks messy, take some pretty ribbon and tie some bows back there for distraction.  I am a lace/ribbon/bow/trim hoarder, mainly because I am impatient and I like distractions.

You're almost finished!  Decorate it however you like -- I added lots of ribbon to the monarch butterfly dress.  For the flower girl dress, I attempted to make my own silk flowers.  I made enough for two dresses and I burned myself a few times.  Just be careful if you do this and there are tons of tutorials out there for making these.  Of course, you could just buy some silk flowers or (even better if you have the time) find some at a local Goodwill store, flea market, etc.

It was fairly cold this Halloween (yay!) so we used a plain black stretchy shirt underneath, plain black leggings, black socks, and ideally black shoes (but my daughter wanted to wear pink sparkly shoes... it worked).  I decorated her black leggings with strips of tulle (see photo, this was a 30-second decoration) and painted her face a little, which she loved.

I was going to attempt to make the wings, but after having a sinus infection all week I broke over the day before and purchased wings at the some big Halloween chain store.  By the way, those stores are not child friendly in my opinion.  Why should my kids have to see a plastic yard scene from SAW or disfigured zombie babies when they walk in the door?  Lesson learned.

Believe it or not, it took us twice as long to come up with the "sweet, cute, friendly werewolf" outfit for  our older daughter.  I can only take credit for the disheveled furry "leg cuffs" and that thing hanging on her arm.  Oh, I smeared some blackish grey paint on her face.  Fortunately my husband found a mask at a local costume rental shop, as the chain stores only had scary, mean grizzly werewolves (and no "normal" wolves whatsoever) with severed arms hanging from their jaws.

USEFUL ADVICE
-- Help your little one get into and out of this dress!  It is made to fit snug, there are tons of holes in that bodice for little arms to force their way through, and you do not want a struggling child caught in this mound of fish net and tulle!  A strong, angry child could possibly destroy this dress in a fraction of the time it took you to make it.

-- This is not an easy care, wash and wear type of dress.  Wash it by hand if needed and lay flat to dry (be sure to shape it properly).  It's fine for play as long as they aren't bouncing off of the walls.   With that said, how durable are those cheaply made costumes at Target or Wal Mart?  I can assure you that this dress, if made properly, will not only be more durable but 10 times more beautiful than anything (affordable) you will find at a chain store.

-- Do not attempt to sell your creations unless you have made quite a few and tested their durability on actual children!   So far, the dresses I have made have not fallen apart after a few outings, but I am still not to the point where I would personally want to sell these.

-- Feel free to experiment!  If you want a more durable bodice and you have the time, single crochet all the way around.  For the last 2-3 rows, double crochet to give yourself openings for tulle.  You could even create a bodice with straps or sleeves that will not need an attached camisole.  I personally like the fish net design, not only because it's quick to create, but it has lots of decorating options.  Furthermore, if I am going to devote the time and effort to crocheting a solid, functional sweater,  I am probably going to let it remain... a sweater.


Thursday, September 6, 2012

Cozy Crochet

Virginia is a beautiful state, but there are quite a few weeks in the summer that are downright miserable.  When the heat index is 107 and the only creature stirring outside is a hungry mosquito, the last thing one would normally think about is wooly scarves!   Crocheting is actually quite accommodating for indoor, air-conditioned days when the kids are stuck inside reading, practicing their instruments, and ...well... watching way too much My Little Pony (friendship IS magic, by the way).

It was a very long, hot summer!

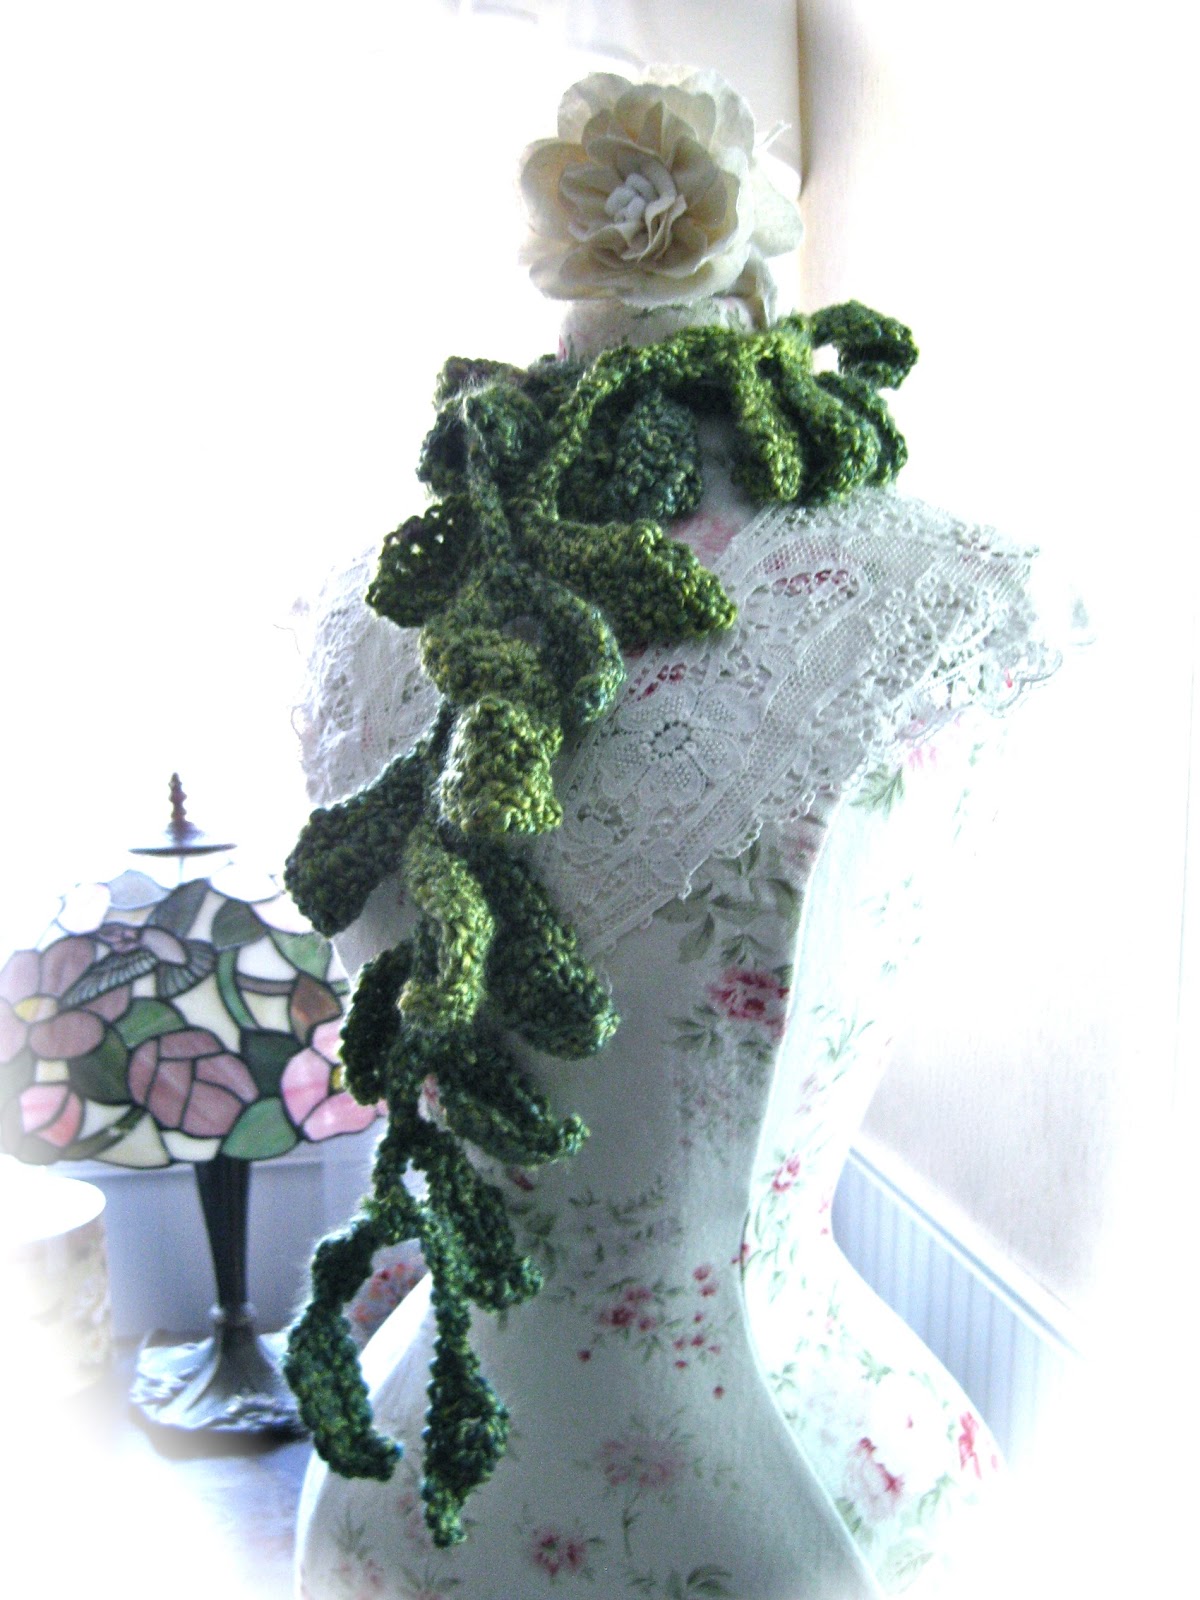
These scarves are in my Etsy shop.


Of course I had to make a "Rainbow Sash!"


Monday, April 16, 2012

Strings and Stitches

The Burrow
I come from the Molly Weasley school of sewing and stitchery.  It may be crooked and frayed, but if you add enough lace and pretty fabrics,  nobody will notice... much.

My seams are crooked, there are strings all over the place, but I love making pretty little things the girls enjoy wearing.  I am getting better, really, I am!

the bodice was way off...
the bodice fits but the tiers are totally wonky...

This skirt has been my favorite project so far.  I have made two, one for each girl, and they are actually presentable enough to wear out of the house!  The girls love them!  I still need to work on my crooked seams and amateur techniques.  I roughly used McCall's pattern M6066 for the main part of the skirt.  I'm horrible at reading patterns and impatient with those flimsy sheets of... whatever that is, but it's nice to have a guideline for the basic foundation of whatever you are making.  

Wednesday, February 8, 2012

Creating Art Jewelry

The first time I took one of my 24" x 36" paintings, warped it down to a 25mm sphere, and created a pendant necklace I was ecstatic!  I was instantly addicted to making art jewelry, rings, lockets, earrings, pendants... I even have parts for hair pins but I have yet to make those.
Secret Grove ring

If you would like to create art jewelry there are some simple THINGS YOU NEED TO KNOW...

1.  Do not use artwork that you did not create unless the artist left this world a long time ago.  Exceptions:  your child's artwork (if the jewelry is for personal use/gifts or charity);  old postcards or scrapbook paper;   other artists' work if you have permission in writing.  ALSO... do not assume that you are not an artist!  You do not need elaborate paintings or detailed work to create art jewelry.  Simple, colorful, and whimsical can be just as beautiful in the right setting as Mona Lisa!

2.  Do not sell the very first few pieces you create.  Wear them yourself or ask friends/family to test them for you.  Fortunately, I gave my first pendant necklaces to my mother and mother-in-law.  My MIL sent me an e-mail a few days later to tell me the chain had broken and I was quite glad to know!  After that I only ordered higher quality chains -- ball chains do not have a long life span and I did not want my artwork dangling from something flimsy.  

3.   You CAN use inkjet printed images, just seal them first.  Personally,  I like to use Mod Podge Satin or Judi Kins MicroGlaze.  Be sure to let them dry for at least 12-hours (preferably 24 hours with the MicroGlaze).

Starry Meadow locket
4.  Start out simple and small.  Make a few inexpensive pendants first before diving into fancy settings and oddly-shaped cabochons.  You will need to get used to gluing in a manner that creates a clear image without annoying bubbles or tears.  

5.  Use settings that suit your artwork.  If you paint pastel bicycles, they would probably look odd in a fancy setting like the one above.  However, in a basic pendant setting or locket they would look extraordinary, at least in my imagination.  There are always exceptions, of course.  

6.  A lot of work and experimentation goes into making art jewelry, especially if you are using large, rectangular images.  You will need to crop, shrink, warp, and probably warp some more.  Programs such as Corel Painter and PhotoShop help immensely.  

THINGS YOU WILL NEED....

1.  digital images of artwork, unless you are using old postcards or scrapbook paper (in some cases you may want to take digital images of these to use instead of the original).

2.  a photo editing program such as Corel Painter or PhotoShop, as well as a little photo editing experience and/or sheer determination

3.  a printer, laser is recommended but you most certainly can use inkjet images (see #3 above)

4.  card stock for printing images

Arabella earrings
5.  if you are using inkjet images, a paper sealant such as Mod Podge or Judi Kins MicroGlaze (again, see #3 above)

6.  very sharp scissors and/or paper punches in various sizes, depending on the size(s) of the cabochon settings you will be using

7.  jewelry and finding supplies - There are tons of these on Etsy with wonderful reputations!  Just to name few I have worked with, Sun and Moon Craft Kits, Canterbury Lane, The Supply Factor, and Bunnysundries (again, that is only a few).  Rio Grande is another supplier with a reputation for wonderful customer service.

8.  glues and sealants - Diamond Glaze is awesome for applying the image to the glass cab ... just remember it dries quickly so you need to replace the cap immediately and work fast.   E-6000 is stinky but it works great for securing the cabochon to the setting.  Use E-6000 in a well-ventilated area (seriously) and do not buy the largest size possible.  I always look for the smaller sizes, even if it costs more per ounce.  I have never been through an entire bottle of E-6000 before having to replace it due to it's overwhelmingly sticky, messy nature.  As far as sealants, see #5.  Obviously there are alternatives to every product I am mentioning, I am just making suggestions based on what has worked best for me.  

9.  packaging and presentation - Create little information cards for your work, even if you are not selling but giving as gifts!   Package them in a pretty organza bag or a decorated jewelry box or tin.  The suppliers I listed above have packaging materials as well.  If you are shipping, be sure to use plenty of bubble wrap and mark the package as "fragile."  Just imagine someone sitting on your package and cushion appropriately.

10.  If you are going to sell your work, you need a good customer service policy.  Jewelry is going to break from time to time and there is a greater risk of customer disappointment with jewelry (I am speaking not only from my art experience but years of retail experience).  Personally, I want customers to have something they can enjoy for quite some time.  I don't care if it's just an inexpensive ring and I will never tell my customers what an employer at a major retailer told me once... "that's what you get when you only pay X amount for a necklace."  In the long run, it pays to be reliable, sincere, and genuinely devoted to the happiness your products should invoke. 

I'm sure I have left something out and I will edit accordingly.  I will post again with more details on creating, assembling, and editing images for jewelry.    


Pin It

Tuesday, January 17, 2012

Crochet Persuasion

It's not often that I purchase an entire book of crochet patterns... NEW!  Usually I look for crochet books at used book stores or the library, or I purchase individual patterns from Etsy.  Well... USUALLY I look for free patterns, but I seldom hesitate to purchase a pattern if it looks well-written.

I found this book on Amazon today, Austentatious Crochet:  36 Contemporary Designs from the world of Jane Austen by Melissa Horozewski.  My first project will be the "Eat Your Heart Out Willoughby" sweater!


"Eat Your Heart Out Willoughby" sweater
"Becoming Jane" sweater - free pattern here!


The "Becoming Jane" sweater (the green one) is also quite beautiful and it happens to be available for FREE on this blog.

Jane Bennet skirt
"A Ball at Netherfield" sweater


Pin It

Friday, December 11, 2009

Handmade Holiday Ornaments


These are very messy but a lot of fun!


You will need the following:


  • clear glass ornaments (found at Michaels and other craft stores)
  • floral moss (sheet moss, reindeer moss, etc., found at craft stores and florist shops)
  • small plastic berries, twigs, leaves, etc. (they have to fit through the opening in the ornament)
  • glue, preferably low odor (Tacky Glue works well and is available in clear)
  • small cheap paintbrush for applying glue (optional)
  • glitter (I prefer "crystal," which is a shimmery white color)
  • Diamond Dust (optional...if you use this please read and follow the "warning" on the label)
  • cheap, disposable "bowl" or jar (I use old salsa jars and large yogurt containers)
  • plastic spoons
  • a wire cutter (for trimming the artificial twigs, berries, etc.)
  • an accommodating workspace that can be cleaned up easily (I always use old newspapers to cover my work area)
Warning: This is not a project that I would recommend for children. The glass ornaments are fragile and they will shatter if handled improperly. Some glues need to be used in a well-ventilated area. If you happen to use a strong-smelling glue, let the ornaments air out for a few days in an appropriate area before placing the cover back onto the opening. Finally, Diamond Dust is BEAUTIFUL but it's basically tiny bits of crushed glass. Using glitter (preferably white...it looks classier) will achieve a similar effect.

Now for the fun part! Select which berries/twigs/mosses (I will call these "ingredients") you want to go inside of your ornament. Lightly coat parts of the ingredients with glue, then drop them into a bowl of glitter and/or Diamond Dust. Use the plastic spoon to swirl them around in the glitter, giving all the glued areas a good coating. Scoop them out and gently shake any excess glitter into the bowl. Carefully remove the cover from the opening of the ornament. Gently place your newly frosted flora into the opening. You may need to shake the ornament a little to arrange the flora properly. You can put as many "ingredients" into the ornament as you like, but I personally think that the ornaments are more striking with just a few simple components.
You can stop here unless you are daring. If you like the look, leave the ornament sitting out for a few hours without the cover, to allow the glue to dry. If you want to add a little more sparkle, carefully brush or squeeze some glue into the ornament along the sides. I like to just drizzle the glue directly into the ornament making circular patterns. Then pour a spoonful of glitter into the opening of the ornament, and swirl it around a few times. Make sure the glue areas are thoroughly covered with glitter, then gently shake out any excess. You can also add glitter to the outside of the ornament if you like.
This is an entertaining project that requires a bit of experimentation to determine the look(s) that you like. The ornaments look beautiful on the tree, especially when strategically placed near lights. I like to hang them around the dining room light fixture (see photo above) to dress it up for the holidays. Have fun!

(I realize that I have about 5 different fonts in this post... it's not by choice).


Friday, December 4, 2009

DIY project...Cozy Blanket (no sewing)


This is a great gift idea for any age! It's easy (no sewing required) and there are tons of fleece patterns out there so you can make it a very personal handmade gift.

I made two (see photo) for our little girls a year ago and they have held up nicely through multiple washings (and I emphasize MULTIPLE)! It doesn't take long to make... I made two in a day with several interruptions. Plus, it's relatively inexpensive if you find the fabric on sale... Jo Ann Fabrics is one of many great places to buy fleece fabric and they often have sales. By the way, if you are making the blanket for an adult, just use more fabric.

Here is a link to the instructions, or if you prefer more vibrant instructions just do a search for "no sew fleece blanket" and you will get numerous results. Have fun!